Getting Started with BikeFinder
Learn how to get started with your BikeFinder
1. Buy your tracker
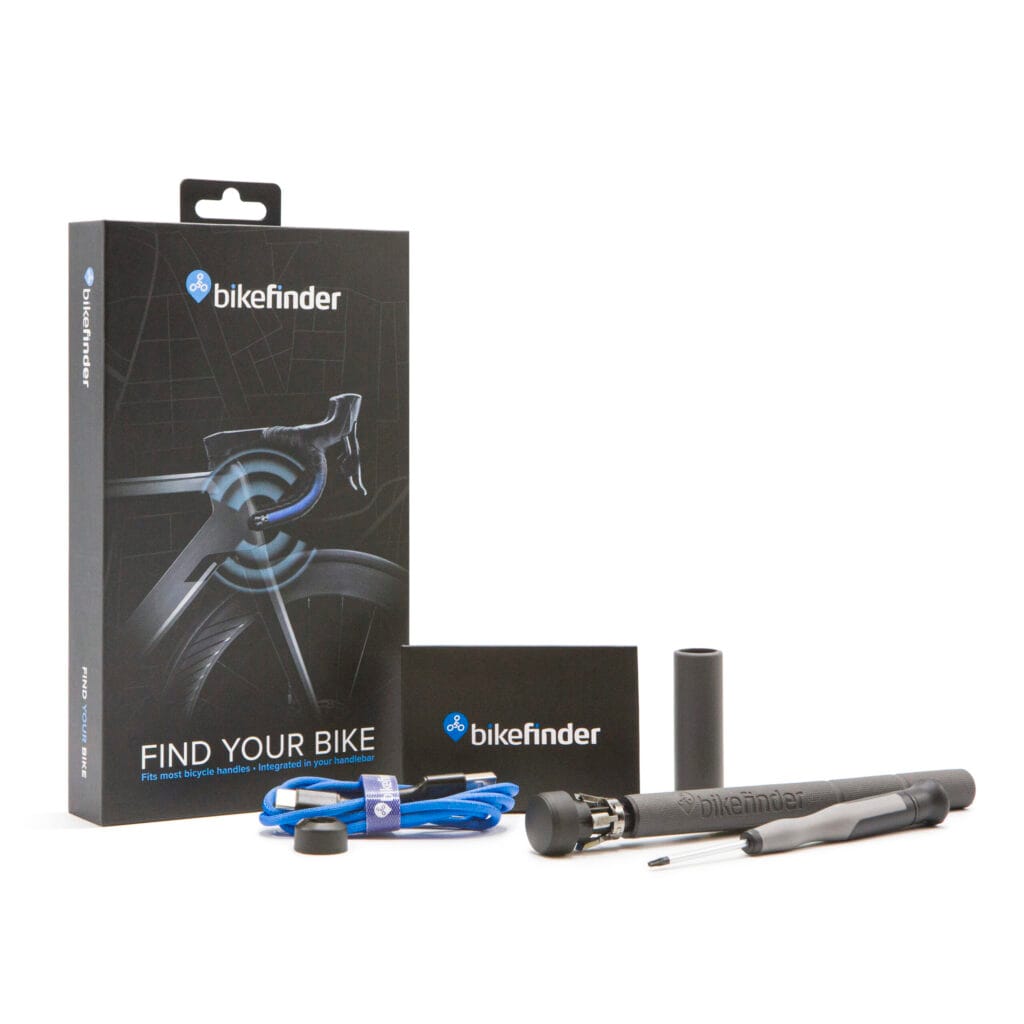
G1 tracker
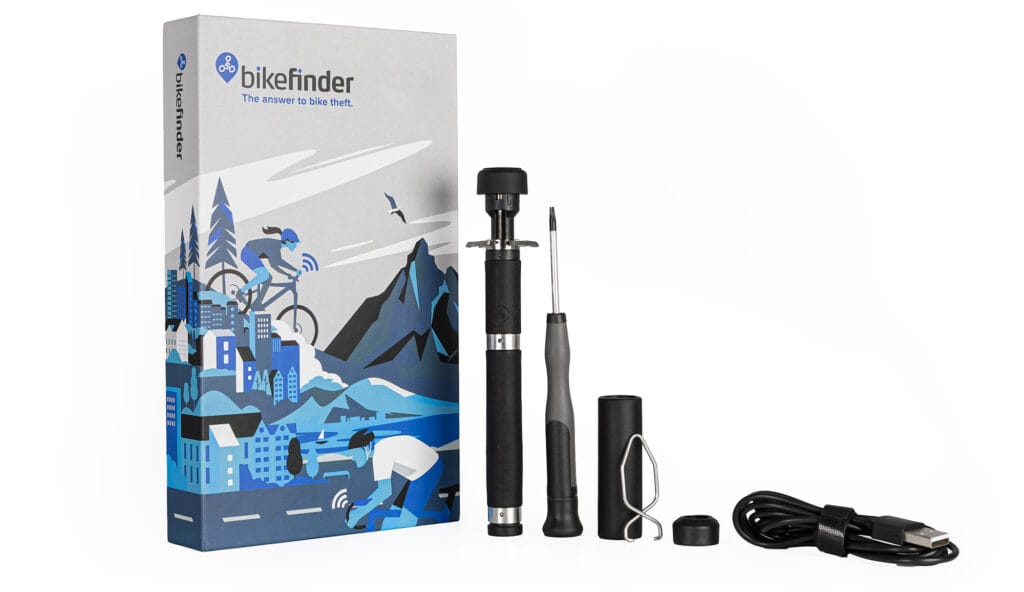
Gen 2 tracker
Adding your BikeFinder tracking device to your cart is the first step towards stress-free bike parking.
2. Download the BikeFinder App

Download the free app from the App store or the Google Play store. The app will guide you through activating your device.


3. Select your subscription
Chooser your subsription plan.
4. Install & connect your tracker
Follow the easy-to-follow steps in your user manual. Need help? Contact our support team or watch our help videos.
5. Mount tracker & verify signals
Follow the easy-to-follow steps in your user manual. Need help? Contact our support team or watch our help videos.
Set up your Bikefinder
2. How to install the app and log in?
Download the BikeFinder application free of charge from your phone’s app/play store.
Links to download app:
1. Open the app and enter the mail you wish to use for our services.
This mail will be used for your Bikefinder. It is important to use the mail your tracker is linked to, so that you will get an overview of the tracker and its whereabouts. We recommend using the same mail for the website and application, to avoid further confusion. Your subscription will be linked to the mail you used to buy a subscription with.
2. Once you have submitted the mail you wish to use, you’ll receive a one-time generated code.
We do not offer our customers to change password. For every unique login attempt, you must use the unique auto-generated password that you will receive in your mail inbox.
Make sure to use the freshest code, as you will receive several codes if you try more than once. This may lead to entering the wrong code, as there are different time stamps.
Now it’s time to add your Bikefinder tracker to the BikeFinder application. See further down.
3. How to buy and add subscription for your tracker
Each individual tracker requires an active subscription.
Buy a subscription through our website, or through our BikeFinder application.
If you’re buying a subscription with insurance, it is very important that you provide the legal owner of the bike when buying insurance. Future cases must go through the insurance owner.
Choose the bike’s worth and subscription length.
We offer insurance for:


How to link subscription to your tracker
1. After you successfully have purchased a subscription, log into the BikeFinder application with the same mail you completed the purchase with.
2. Click the tracker you want to activate the subscription on.
3. On the tracker’s configuration page, press ”Inactive subscription – tap to fix’’, or the RED credit card symbol. It will start searching for your available subscription(s), which will be linked to your tracker when selected.
4. Install and connect your tracker
Before you start, turn Bluetooth on in your phone’s settings. Make sure your phone has internet access, as well as access to notifications and locations.
First time: Charge your Bikefinder tracker for a minimum of 3-4 hours, as it has not been used before. After 30 minutes, the tracker should wake up, and it should indicate a red LED light. Read more about LED lights here.
If it doesn’t indicate any LED light, you may try to charge it overnight. If it still doesn’t indicate any LED light, please make sure that you have been trying to charge the tracker with the correct equipment and according to the manual. If you’re not sure, check out this article on our FAQ page.
Note: The LED lights on the Gen 2 tracker are not intended to reflect charging or operational status. For accurate status updates, we recommend using the app
Now, let’s set up your tracker in the app.
Remember to log in with the correct mail address.
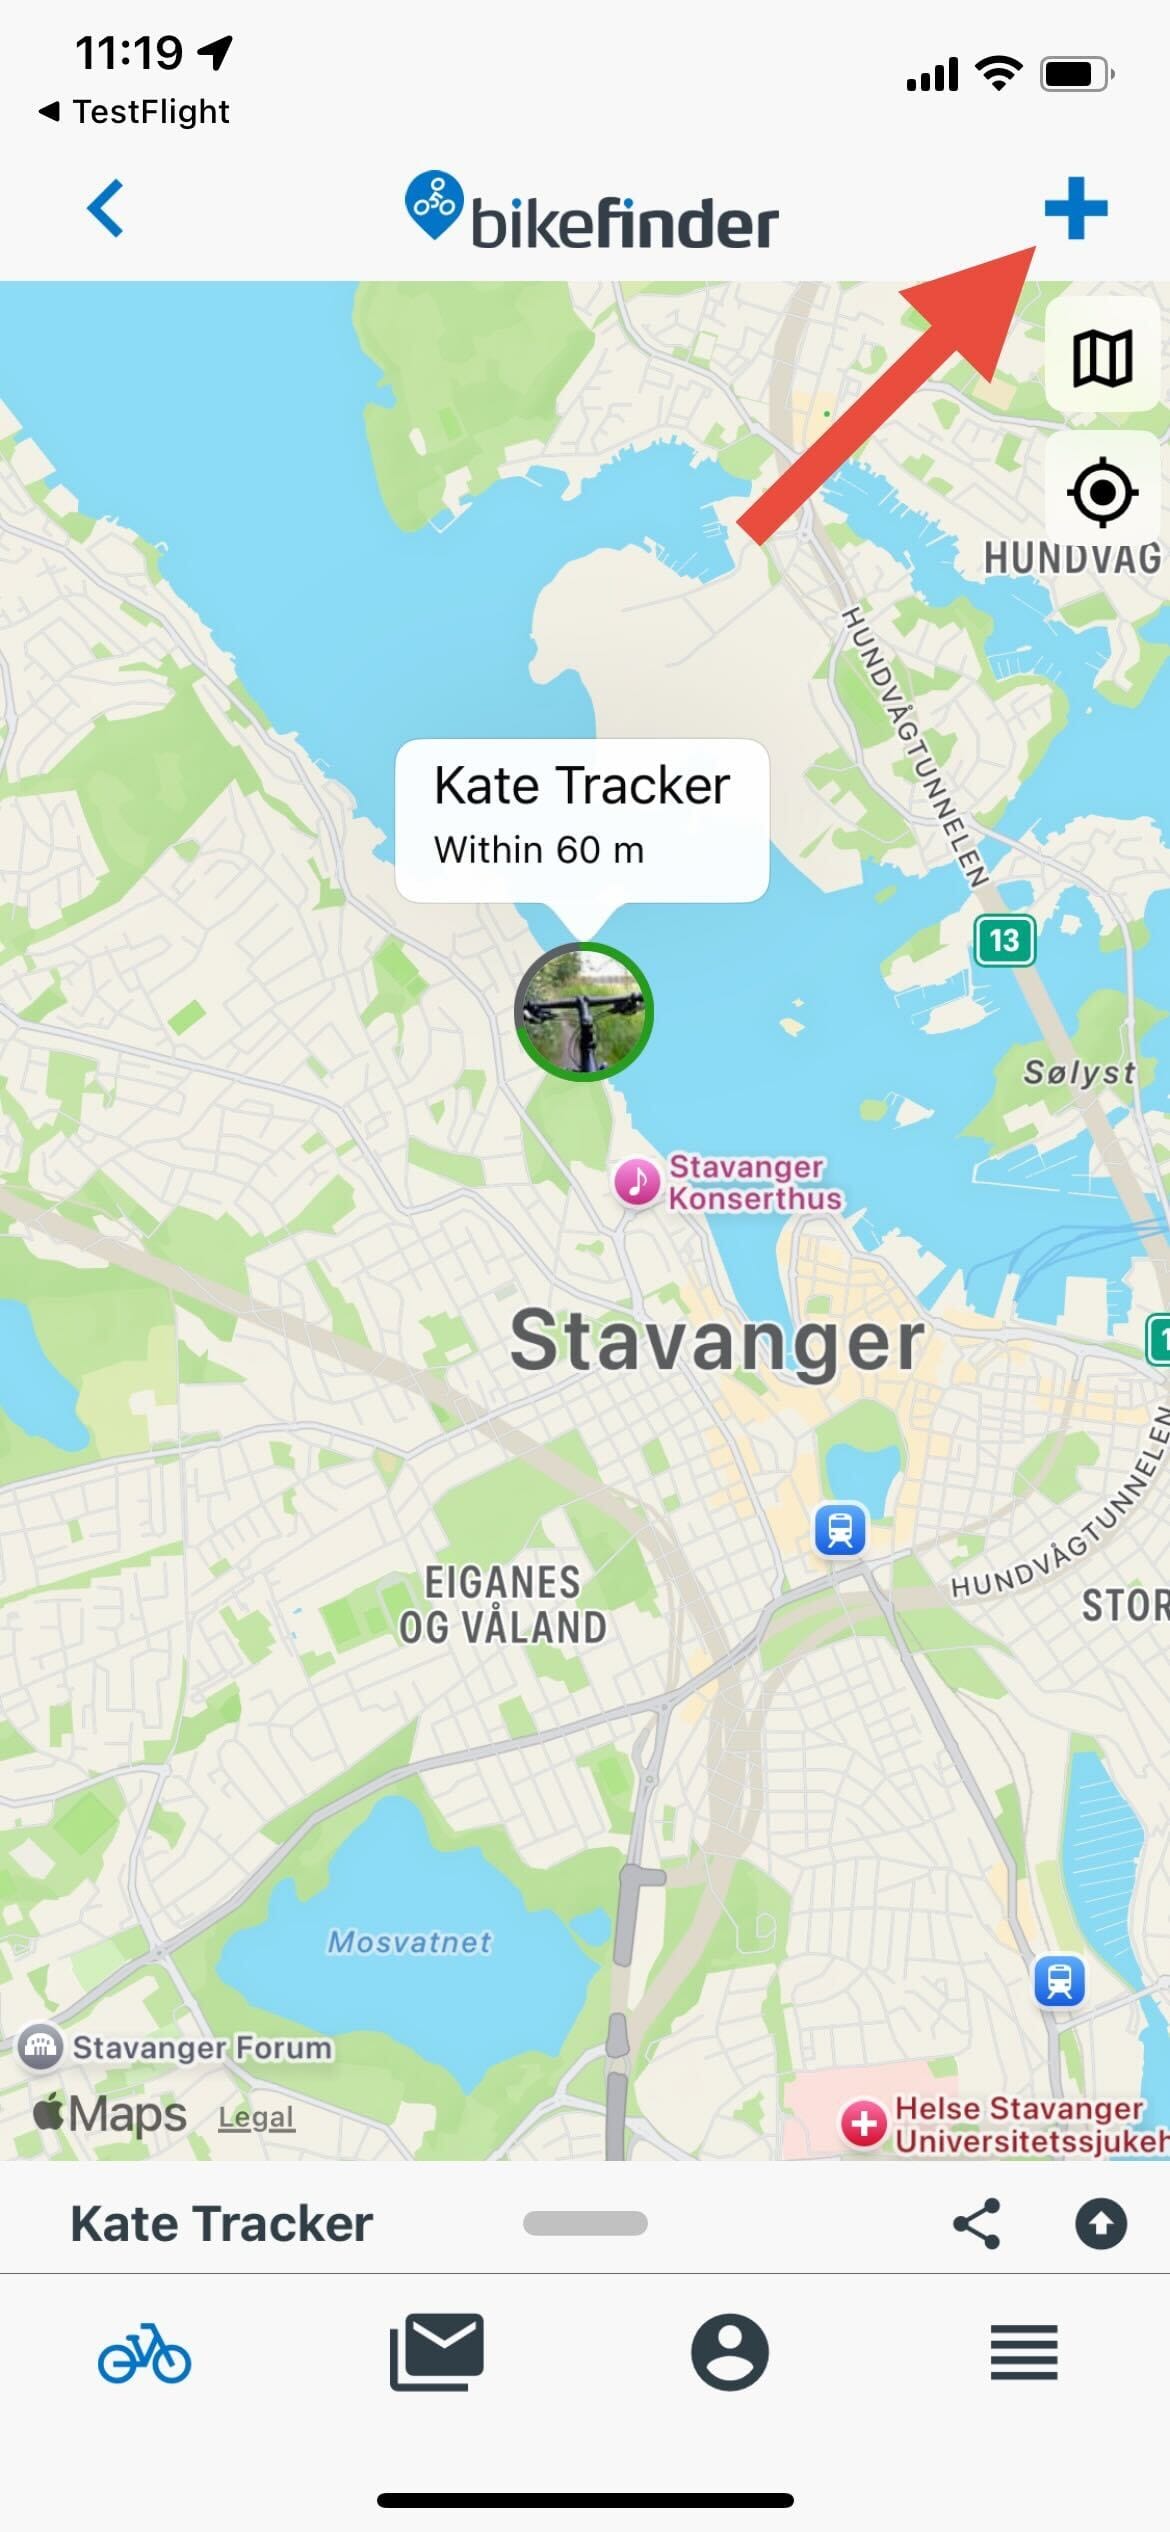
1. Click the ‘’+’’ symbol.
As it now starts searching for available trackers nearby, your tracker will show up. Make sure you’re in a spot with good reception, and that the smartphone is close enough to your tracker.
2. Click the tracker that was recently added.
• You can rename your tracker
• You can add information about your bike, such as order confirmation/receipt and accessories
• You can add a picture of the correctly installed tracker
• You can add a picture of your bike
Now that you have logged in and added your Bikefinder tracker to the application, you will need a subscription to activate the tracker’s functions. The RED triangle in the app warns you that the tracker has no active subscription.
5. Mount tracker & verify signals
1. If you have a G1 tracker, continue with step 2.
If you have a Gen 2 tracker, connect the battery module to the tracker module for the tracker to take charge and to work.. Align the tracker and battery module. Push the two modules together until a click sound is heard.
2. Put the tracker inside the fitting handlebar (inner diameter of 15 mm-23 mm).
If the handlebar seems too big, you can attach the handlebar adapter set to the tracker to make it tighter.
3. Make sure there is no room between the handlebar and the black end of the Bikefinder. The antenna’s head is approximately 1-1,5 centimeters, which must stick out of the handlebar to avoid that the metal or other equipment attached to the bike’s handlebar is disturbing communication with satellites.
4. When you have a G1 tracker, make sure to install it so the arrow points upwards. If you have a Gen 2 tracker, the two holes with the screws should be positioned perpendicular to the ground.
5. After installing the tracker inside bike’s handlebar (facing the correct way), you tighten the screws with the tools that were included. The screws are to be tightened in a way where you will be unable to drag it out. It should be hard to twist the screwdriver when rotating.
– If you need to remove the tracker in the future, we advise you to not use any other tools. This may result in the tracker getting stuck.
NOTE! If your Bikefinder tracker has not been installed correctly, your insurance (if applicable) will be invalid.
This is how the result of the installation should look when you’re done.
Installation videos
G1 tracker
Gen 2 tracker
Additional information
Understand the different signals and tracker modes
There are different signals and tracker modes the bikefinder uses to locate your bike. Read more about them, or watch a video to further understand how the tracker works.