Mount tracker & verify signals
How to install BikeFinder?
1. Put the tracker inside the fitting handlebar (inner diameter of 15mm-23mm).
If the handlebar seems too big, you can attach the blue part around the tracker to make it tighter.
2. Make sure there is no room between the handlebar and the black end of the Bikefinder. The antenna’s head is approximately 1-1,5 centimeters, which must stick out of the handlebar to avoid that the metal or other equipment attached to the bike’s handlebar is disturbing communication with satellites.
3. Make sure to install it the right way, as shown in the manual. For the G1 tracker, the arrow should be pointing upwards (page 6) and for the Gen 2 tracker, the 2 holes should be positioned perpendicular to the ground (page 11) . See manuals here.
4. After installing the tracker inside bike’s handlebar (facing the correct way), you tighten the screws with the tools that were included. The screws are to be tightened in a way where you will be unable to drag it out. It should be hard to twist the screwdriver when rotating.
– If you need to remove the tracker in the future, we advise you to not use any other tools. This may result in the tracker getting stuck.
NOTE! If your Bikefinder tracker has not been installed correctly, your insurance (if applicable) will not be invalid.
This is how the result of the installation should look like when you are done.
Rubber and/or thin plastic on the edge covering the antenna head should be no problem.
Grips with metal (like aluminium and carbon) will on the other hand essentially create a Faraday shield and disturb the GPS and GSM signals. For this reason we have designed the antenna so that it looks like a normal black bar-end.
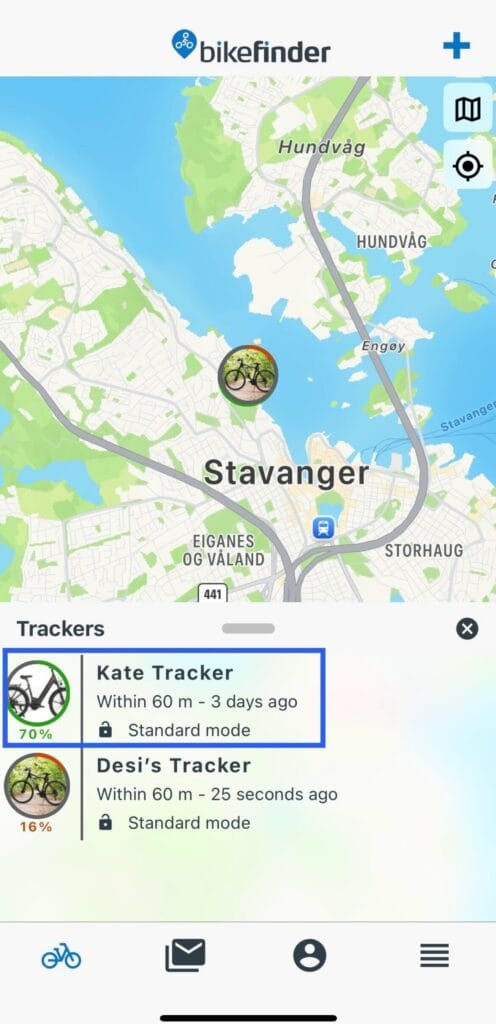
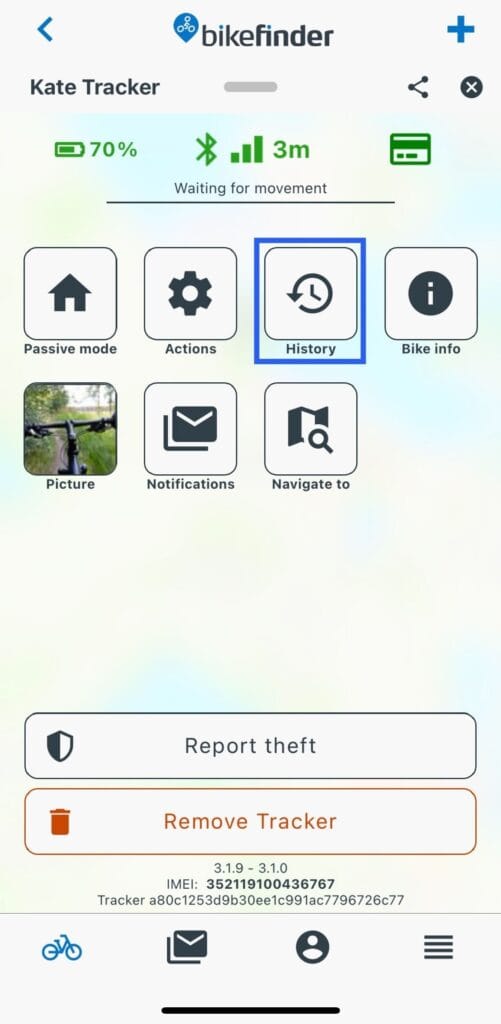
How to verify that your tracker is online?
In the BikeFinder application, there’s an overview of your tracker’s received signals (where it is and where it has been). Select your tracker and then the ”History” icon. From here, you can choose/filter which signal type you would like to see or focus on. It’s important to ensure your tracker goes online and that the timestamps are accurate.. If you have any doubts, you should get in touch with our support team.
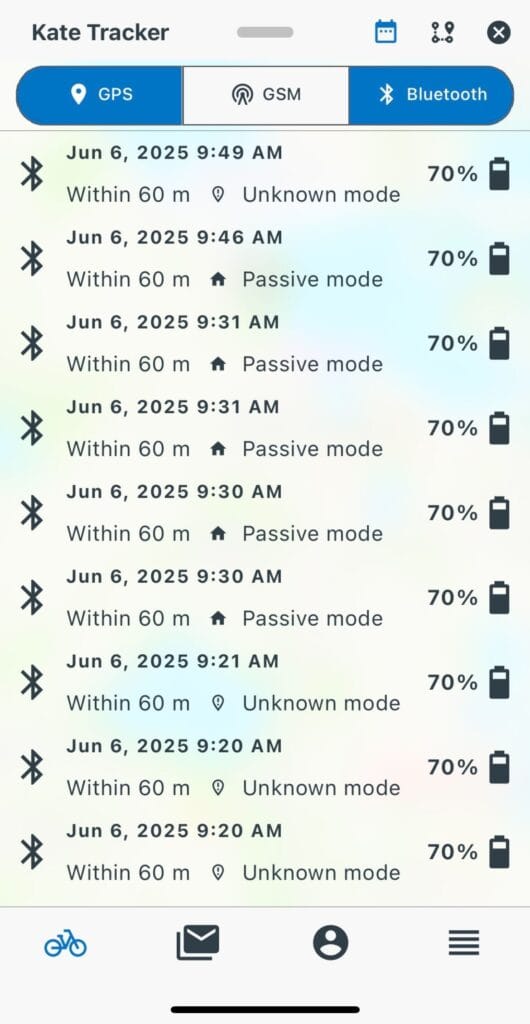
Feel free to read more about the different tracking modes and signal types on our support page, if you already did not read about those in the manual.
Understanding how the tracker works will make you feel safer, and it will help you know what to look for if you were to experience a theft situation. We have a guide article on our website on what to do if your bike gets stolen. We advise you to check it out.
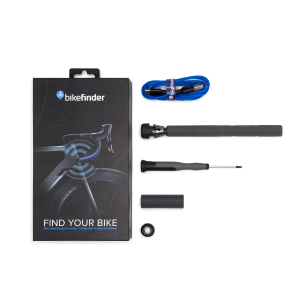
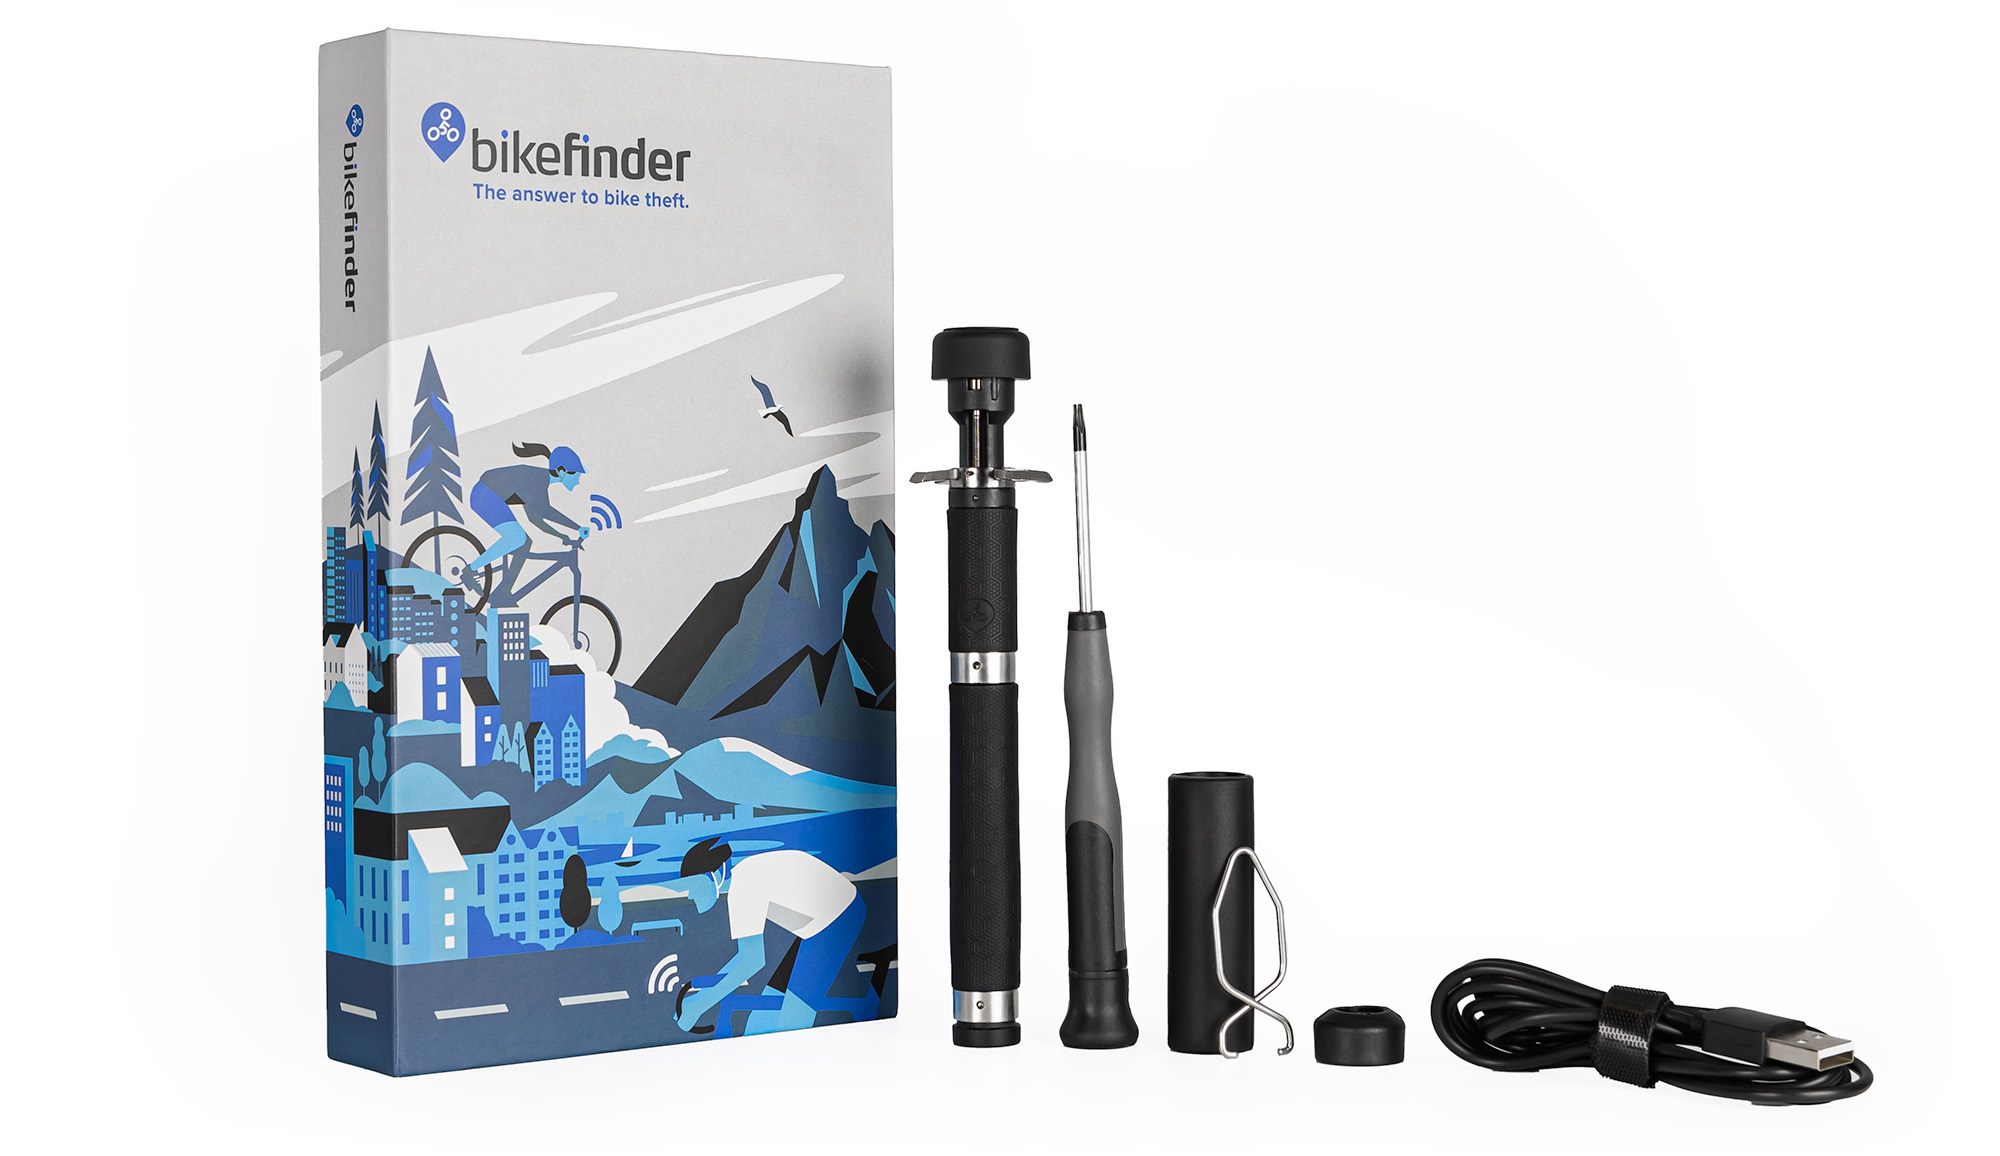
What’s inside the box?
Included in the G1 box
- Bikefinder tracker
- USB-C charging cable
- Customized screwdriver
- Instruction manual
- Extra rubber filler to fill available space and improve antenna signal in spacious handlebars
Included in the Gen2 box
- Bikefinder tracker
- Charging cable
- Customized screwdriver
- Pincher tool for demounting the tracker
- Instruction manual
- Extra rubber filler to fill available space and improve antenna signal in spacious handlebars
Demonstration by video:
You may find our Getting Started video here:
For the G1 tracker
For the Gen 2 tracker
BikeFinder Support [email protected]
Suggestions on how to improve this article?
Please submit a ticket below